
We set up docker with portainer in previous article. Now we build a simple landing page based on hugo. Sources will be stored in gitlab. Our changes will be automatically deployed on virtual machine by gitlab-ci.
Install hugo
First we needed to install hugo on our local developing machine. If you use linux, you can do it follow way: download last version from hugo releases. You should use *.deb package, if you have a debian-based distributive, e.g. Ubuntu.
Downloaded package may be installed with following command:
sudo apt install ./name.deb
If you have macos or windows, you can use instructions from link: install hugo.
Create repository on gitlab
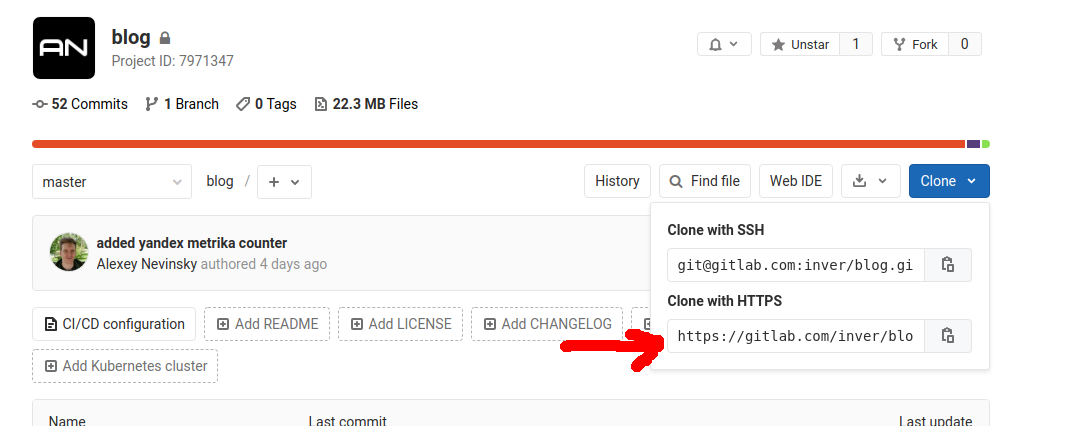
You should create account on gitlab.com, if you haven’t. Create new project, e.g. myhugoblog. Next, clone your repository from url:
with next command:
git clone <https url for clone>
Create a landing page and check on local machine
Change dir to folder with cloned repository and run command to generate a base for hugo site:
hugo new site .
Next, add a theme, e.g. ananke:
git submodule add https://github.com/budparr/gohugo-theme-ananke.git themes/ananke
Full list of themes you can find on hugo themes list.
Default configuration file config.toml has next content:
baseURL = "http://example.org/"
languageCode = "en-us"
title = "My New Hugo Site"
Change baseURL to url of your site, e.g. baseURL=nevinsky.net and add theme from previous command. Now config.toml looks like this:
baseURL = "http://nevinsky.net/"
languageCode = "en-us"
title = "My New Hugo Site"
theme = "ananke"
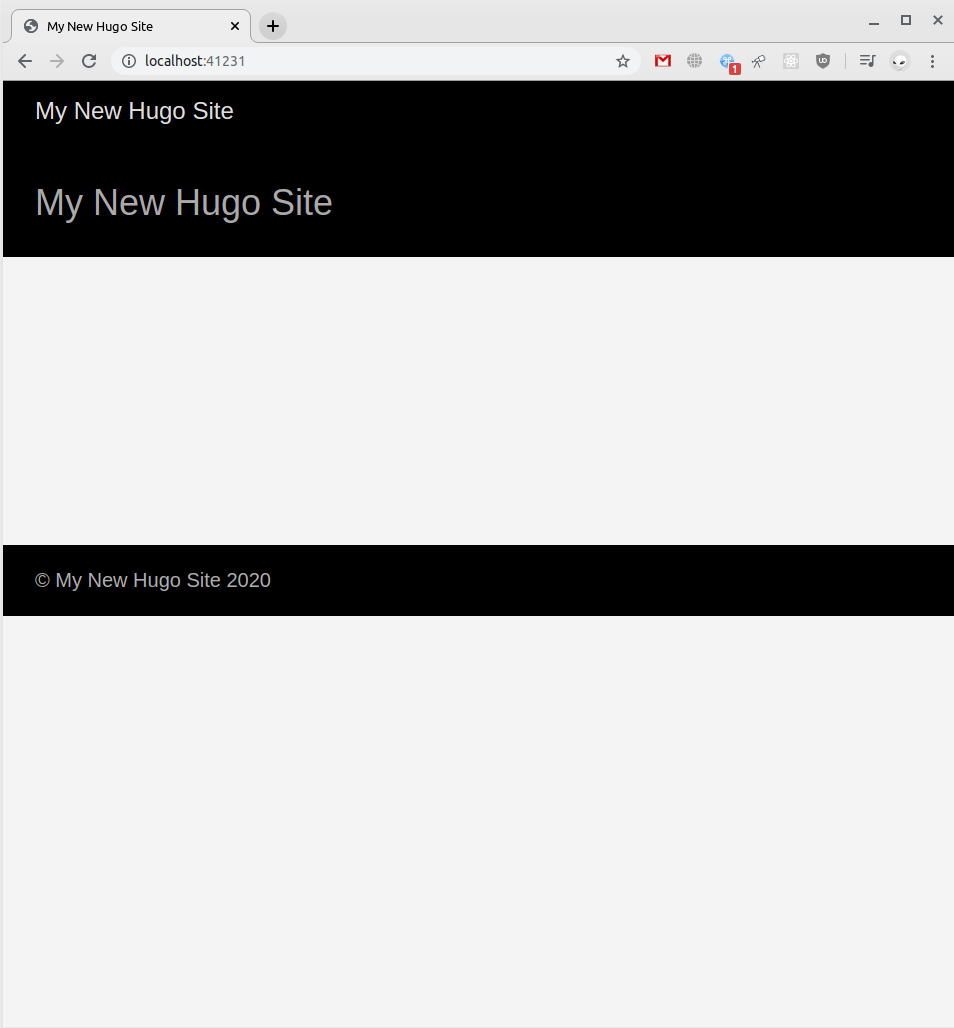
Run local hugo server to see our results:
hugo server -D
It will wrote, that it run on localhost:1313 or similar. Choose url http://localhost:1313 in your browser. You should see next page:
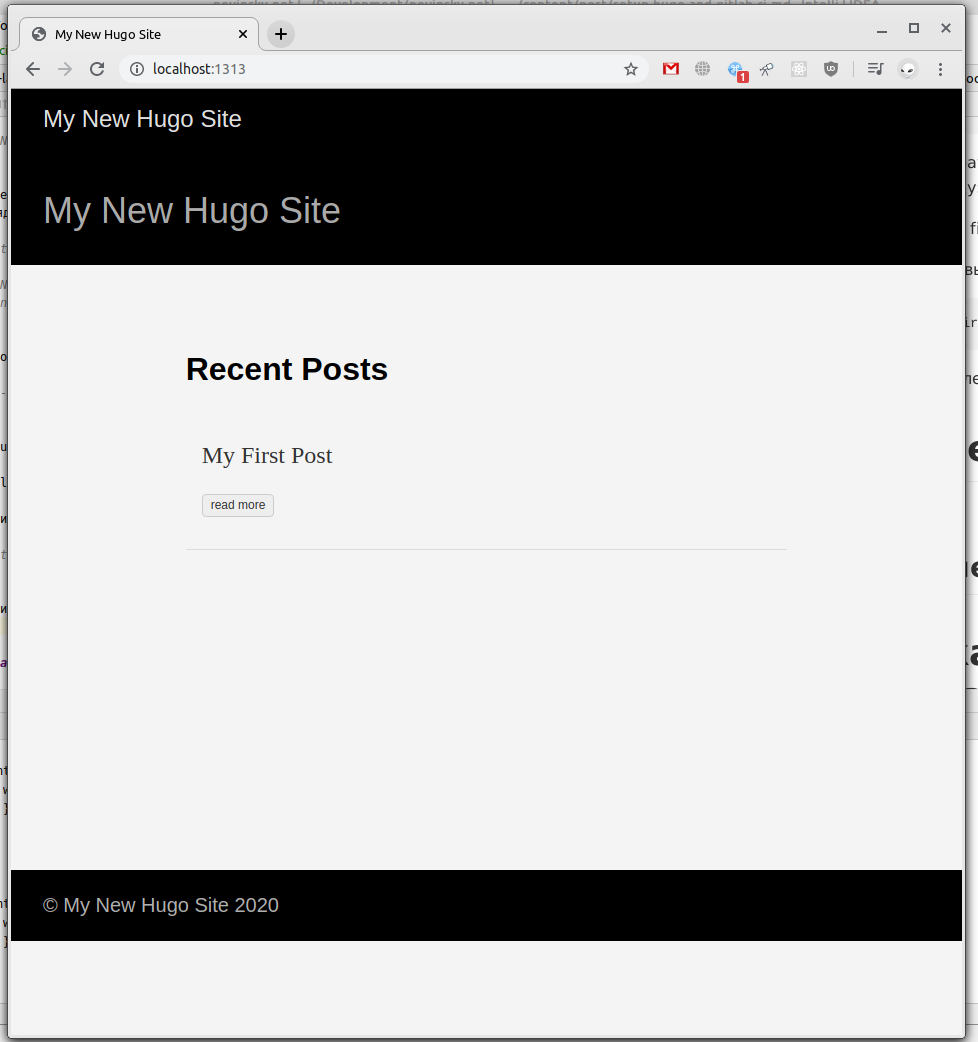
Well. Now we can add our first post for non empty site=)
hugo new posts/my-first-post.md
You should see next page in your browser:
Run next commands to save all our changes in git:
git add .
git commit -m 'initial commit'
git push origin
P.s. if you want to get processed site with set of static files without docker image build, simple run command:
hugo -D
Generated files will be placed in public folder.
Docker image build
Create a Dockerfile in project:
# Base image
FROM alpine:3.9 AS build
# The Hugo version
ARG VERSION=0.68.3

ADD https://github.com/gohugoio/hugo/releases/download/v${VERSION}/hugo_${VERSION}_Linux-64bit.tar.gz /hugo.tar.gz
RUN tar -zxvf hugo.tar.gz
RUN /hugo version

# We add git to the build stage, because Hugo needs it with --enableGitInfo
RUN apk add --no-cache git

# The source files are copied to /site
COPY . /site
WORKDIR /site

# And then we just run Hugo
RUN /hugo

# stage 2
FROM nginx:1.17.9-alpine

WORKDIR /usr/share/nginx/html/

# Clean the default public folder
RUN rm -fr * .??*

# This inserts a line in the default config file, including our file "expires.inc"
RUN sed -i '9i\ include /etc/nginx/conf.d/expires.inc;\n' /etc/nginx/conf.d/default.conf

# The file "expires.inc" is copied into the image
COPY docker/expires.inc /etc/nginx/conf.d/expires.inc
RUN chmod 0644 /etc/nginx/conf.d/expires.inc

# Finally, the "public" folder generated by Hugo in the previous stage
# is copied into the public fold of nginx
COPY --from=build /site/public /usr/share/nginx/html
Create the file docker/expires.inc which was found here: Nginx Caching | Servers for Hackers
# cache.appcache, your document html and data
location ~* \.(?:manifest|appcache|html?|xml|json)$ {
  expires -1;
}

# Feed
location ~* \.(?:rss|atom)$ {
  expires 1h;
  add_header Cache-Control "public";
}

# Media: images, icons, video, audio, HTC
location ~* \.(?:jpg|jpeg|gif|png|ico|cur|gz|svg|svgz|mp4|ogg|ogv|webm|htc)$ {
  expires 1M;
  access_log off;
  add_header Cache-Control "public";
}

# CSS and Javascript
location ~* \.(?:css|js)$ {
  expires 1y;
  access_log off;
  add_header Cache-Control "public";
}
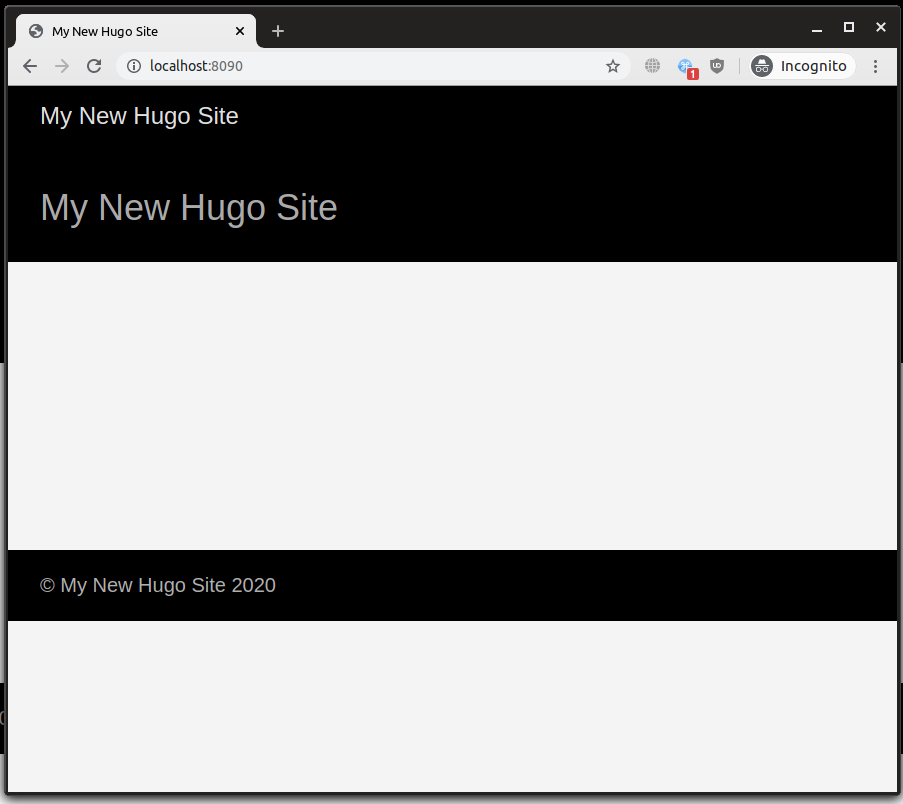
Check our docker image with following command:
sudo docker build -t myhugoblog . && sudo docker run -p 8090:80 myhugoblog
After that we should see next picture in browser by url http://localhost:8090
Enable webhook in portainer
Add gitlab registry in your portainer. After that add new service with gitlab registry and image: <gitlab username>/myhugoblog.
Set checkbox “Create a service webhook” to “enable” position.
When service was created, copy url of your webhook, e.g.:
https://<your host>/api/webhooks/d0beb26f-c6e7-497d-981b-f27957f5ad14
It will needed in .gitlab-ci.yml file for autoupdate.
File .gitlab-ci.yml
Create file .gitlab-ci.yml with following content for automatic build and publish your site to virtual machine:
stages:
  - build

Build:
  stage: build
  image: docker:18-git
  only:
    - master
  # fetching submodules here because usually themes are git submodules
  before_script:
    - git submodule sync --recursive
    - git submodule update --init --recursive
  script:
    - echo -n $CI_JOB_TOKEN | docker login -u gitlab-ci-token --password-stdin $CI_REGISTRY
    - docker build -t $CI_REGISTRY_IMAGE:latest .
    - docker push $CI_REGISTRY_IMAGE:latest
    - curl -X POST https://<your host>/api/webhooks/d0beb26f-c6e7-497d-981b-f27957f5ad14
Please, check last line - url you generated in previous section.
Well. Commit and push your changes and go to gitlab pipelines: gitlab.com -> project with hugo landing page -> CI / CD.
Then pipeline successful done you should see your site on your host.
P.s. I will describe how to add seo-friendly content and how to create your own theme in next posts.
Previous post » Set up docker and portainer Next post » Set up docker and portainer